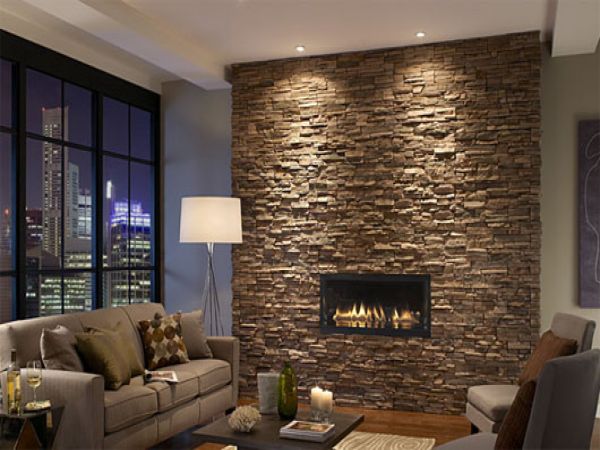
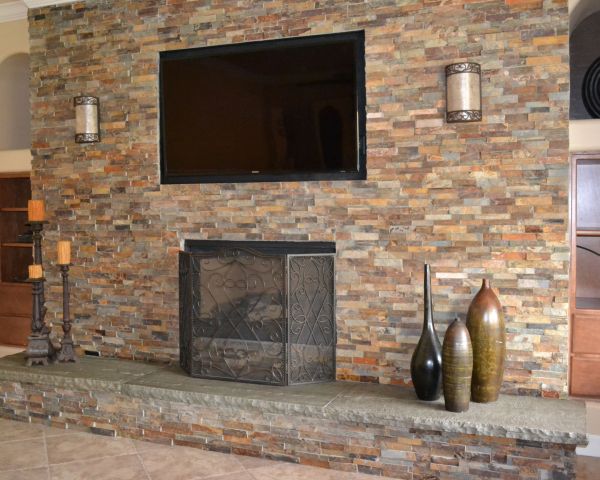
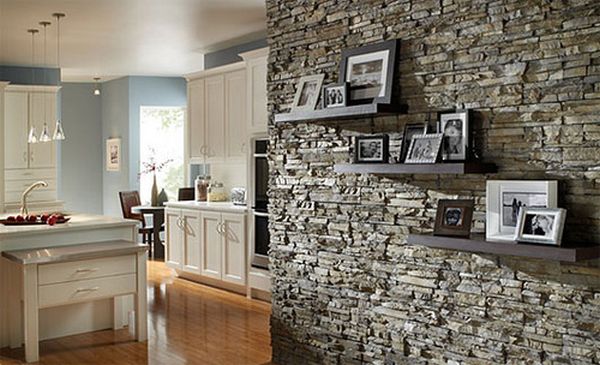
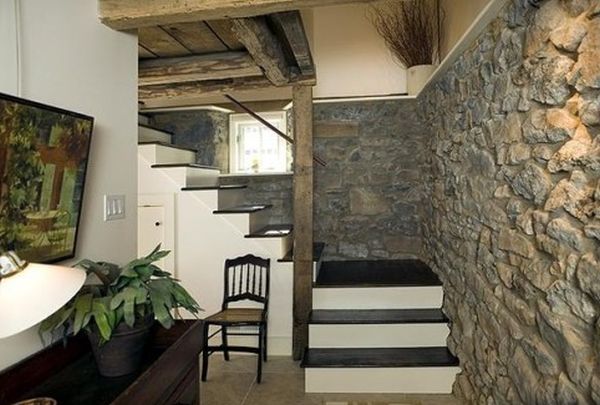
Although it looks and sounds easy, installing an interior stone wall can take up your time and end up a botched effort if not handled properly. Not to worry though, for here are the steps you would need to follow in order to install the interior stone wall in a proper and efficient manner.
Preparing the surface
The first thing you would need to do when installing an interior stone wall is to prepare a rigid surface for the same. This can be achieved by applying at least two layers of weather resistant building paper over the sheathing. Make sure you move from the bottom to the top, installing weep screeds and flashings properly along the way.
You would now need to prepare the metal lath that goes on the building paper. The lath needs to be attached horizontally with the surface being rough to the touch when rubbed upwards. Ensure that the building paper is smooth before installing the lath. And make sure you nail down any bubbles you find on the lath in order to avoid bounce.
The scratch coat application
Cover the lath surface with mortar completely and allow it to set nicely. After about 30 minutes or so, brush the surface with a soft bristled brush in order to strengthen it. While the standard combination involving one part of cement, 2.25 parts of sand and adequate water is okay for a workable mix, you can opt for pre-mixed mortars that would make the job easier.
Planning the layout
Before installing the stones on the surface, it would be wise to lay them on the ground and work out the arrangement beforehand. This will help you achieve the look that you desire before actually fixing them to the wall.
Fixing the stones to the wall
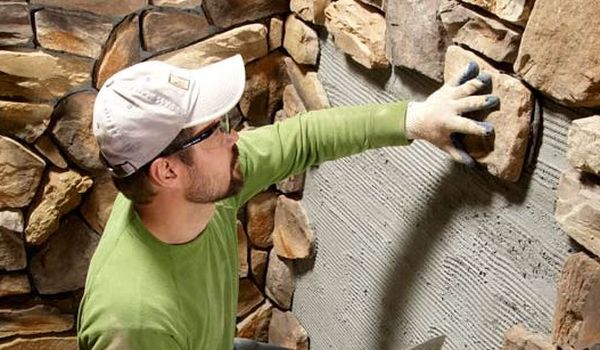
The process of application is pretty simple when it comes to installing a stone wall. Simply apply a thick layer of mortar to the back of a stone and press it firmly into place on the surface (the mortar should squeeze out from behind the stone as you do so). You can ensure a stronger bond by mixing some liquid bonding agent with the mortar mix. It pays to start from the corners and the bottom and then work your way inwards as well as upwards. In order to remove mortar from the stone surfaces, wait for the mortar to dry a bit and become crumbly, and then use a brush to remove the same.
Grouting the joints
Once you have filled the entire wall with the stones, use a grout bag to squeeze mortar into the joints. In addition to the joints, you can also use grouting to conceal cuts or broken edges in the stones. As in the previous case, wait for the mortar to become crumbly before brushing it off the surface of the stones.
Striking the joints
Just leaving the mortar in the joints will do no good. You need to wait for it to become dry and firm, and then push it firmly into any voids, holes or cavities. You can do this using a strike tool and use a tuck pointer to scrape off the mortar from the edges of the stones. Filling up these holes would ensure that they don’t get filed up with pests or water.
Brushing away the loose mortar
Use a small brush or broom to gently smooth the mortar on the joints as well as remove it from the stone surface. Do not allow them to dry, as it would become difficult for you to remove them then. If needed, use a little bit of water and vinegar to remove loose mortar and smudge marks on the stone surface. Be wary though for too much water can cause a milky residue to form on the stone surface. And refrain from using acid, salts or de-icing agents as they can damage the stone.
Summary
Thinking of installing an interior stone wall in your home? Then here are some steps that would aid you in the process of building the stone wall in the easiest and most efficient manner possible.