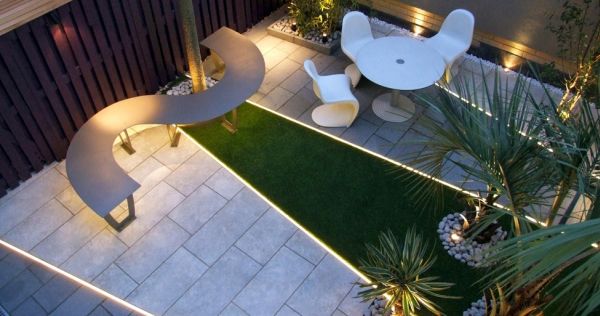
Garden lighting is a unique and amazing way to add charm and enhance the looks of your exteriors. It creates a feeling of warmth and affection outdoors and is extremely adorable. Concrete is generally preferred for garden lighting because of its durability and natural beauty. Read on to know how you can create your own concrete garden lighting that will spruce up your exteriors and make it a perfect place to organize parties.
STEP 1: Choosing a Design for the Lighting:
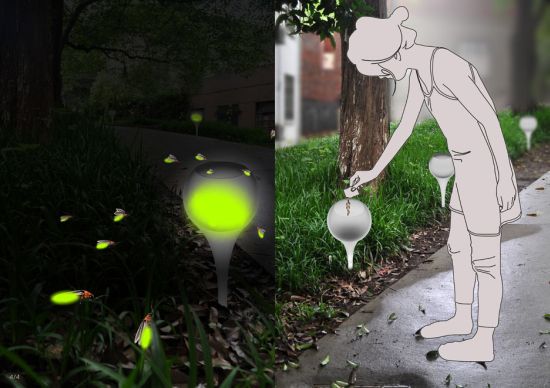
The first step, while making a concrete garden lighting, begins with creating a functional three-dimensional design. While making a design, you should consider the weight of concrete and its fragility. Here is a design that resembles a triangular prism, connected and combined with a rectangular prism to form one solid shaped structure.
STEP 2: Materials Required:
The materials required for the making of the concrete garden lighting are –
- Cement – 10 kilogram
- Thin Sand – 10 kilogram
- Wooden Boards – of different sizes, such as:
1x48x24 cm
24×24 cm
26.8×24 cm
16.8×24 cm
10×24 cm
2x15x24 cm
- Spotlights (radius 46 mm) – Two
- Electricity power cable – 3 meters
- Plastic hose (radius 10 mm) – 1 meter
- Soft Soap – 1 pack
- Essential tools – Mini shovel, spatula, bowl, etc.
- Styrofoam cubes
STEP 3: Making of the Mold:
Once you are done with the design and materials, now it is time to get going and make the mold. The purpose is to create a wooden mold that has the shape of your garden light design. Assemble all the wooden pieces and boards, so that the mold (when ready) looks exactly like the design you want. However, prior to assembling the wooden pieces, it is important that you know where you want your spotlights to be and then proceed with the drilling work as required. Create holes for spotlight bodies, accessories, cables and the power cable when working with the plastic or power cable. In order to create a passage inside the concrete block, the connection needs to be done before the pouring of concrete inside the mold. Slit a sole in the middle of the pipe and connect this end with one of the ends of the hose. This allows you to place spotlights from the sides of the rectangular prism and power cable from the backside of the cement block.
STEP 4: Getting the Mixture Ready:
Mix together cement and sand in equal proportions. Once the mixture becomes completely homogenized, keep pouring water until you reach a consistency similar to that of mayonnaise.
STEP 5: Styrofoam Cubes:
You can include Styrofoam cubes in the mold at the time of pouring to decrease the weight of cement. These cubes also make the construction intact.
STEP 6: Pouring:
Rub the mold with soap for easy removal of the mold from the block and start pouring the mixture with the help of a spatula. While placing Styrofoam cubes, place the cubes only after pouring 30 mm of concrete mixture, else the cubes will be visible after the block dries. Before removing the mold, leave it for at least two days to dry and water them twice a day to avoid cracking.
STEP 7: Removing the Mold:

Remove the block from the mold after two days and use the mold only after five days to ensure durability.
Step 8: Sanding and Finishing the Faces:
After five days when the blocks become sturdy enough to use, you can use a sand paper to give the finishing touch to the blocks. Remove the plastic pipe and check the holes of the hose by blowing air from behind.
STEP 9: The Final Look:
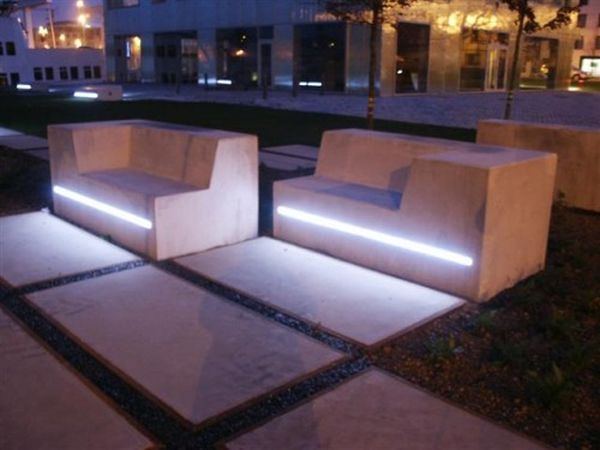
Connect the spotlights with the power cables and place them inside their holes. Plug the wires to the socket and see the mesmerizing effect of the beautiful spotlights in your garden.
Summary:
If you are looking for some attractive concrete garden lighting, follow these simple steps to create your own lighting and add life to your outdoors.