Even though tiled floors are considered to be maintenance free and long lasting, any damage caused to them can spoil the whole look and you will be left with no choice but to replace that tile. However, replacing a damaged tile is not a difficult thing to do. You can do it yourself if you know the correct technique. Damaged tiles can be replaced very easily without taking out or harming the nearby tiles. All you have to do is chisel out the damaged tile and install a new one. Here is a step-by-step guide to help you replace the damaged tile with ease.

Difficulty level: Moderate
Time required: 45 minutes (plus the time required for the adhesive to cure)
Resources required
Replacement tile
Masking tape
Hammer
Chisel
Trowel
Thin set
Grout
Grout float
Sponge
Drill
Putty knife
Estimate cost: $1 – $50 (depending on the type of tile and availability of tools)
Instructions
1. Remove grout
Remove the grout surrounding the broken tile with a grout saw and isolate it. This will ensure that when you hammer it out, the shock waves don’t damage the neighboring tiles. You can also use a rotary tool with cutting tip to take out the grout. Although expensive, rotary tools do the job in lesser time.
2. Take out tile
Loosen the tile to take it out. You can place a cloth over the broken tile and use a hammer to break the tile down to more manageable pieces. Another way is to apply painter’s tape around the edges of the broken tile to protect the adjacent tiles. Then drill holes in the damaged tile to loosen it and take it out.
3. Remove adhesive
Once you have removed all the pieces of the damaged tile, remove the old tile adhesive using a chisel. Be careful not to scrape the floor under the adhesive. Use a vacuum cleaner to clean the surface of any debris. If the surface is not smooth, the new tile will not fit properly.
4. Setting tile
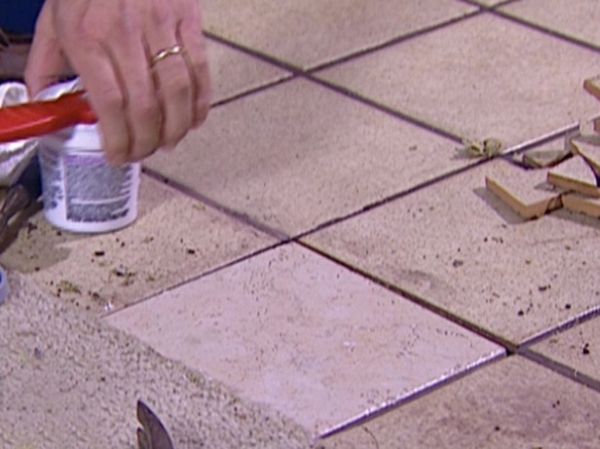
Use a putty knife to put adhesive on the back of the replacement tile and spread it out evenly. Place the tile in place and gently press down to the floor to make sure it is at level with the surrounding tiles.
5. Applying grout
Wait for some time (it can take anything from two hours to 24 hours depending on the weather). Once the adhesive is cured, use a rubber grout float to apply the grout in the joints. Wipe off the excess using a towel or a damp sponge.
Frequently asked questions
Q: Is there a temporary solution to fixing the broken tile?
A: If you are pressed for time, you can temporarily fix the broken tile by painting the cracks in the same color as the tile. However, this is not a permanent fix and you would have to be careful and avoid walking on the broken or damaged tile.
Q: What if you don’t have any similar tiles leftover from the first installation?
A: If you don’t have the perfect matching tiles leftover at your home, you can take the broken pieces to a tile store and look for a match. Alternatively, you can inquire about services that offer made-to-order replacement tiles.
Q: Does the entire tile have to be replaced if there are just some minor cracks in the damaged tile?
A: If there are very fine cracks on your tile, you need to replace the entire tile. You can fill these small chips and cracks with some grout. However, make sure the grout matches the color of the tile and don’t forget to use a sealant to give it a more finished look.
Quick tips
1. Put on safety glasses before you begin to protect your eyes from dust.
2. Wear gloves to protect your hands from broken pieces of the tile.
Things to watch out for
1. Be careful with your hammer or you may end up with more damaged tiles than you had in the first place.
2. Make sure you get as perfect match as possible in your replacement tile.