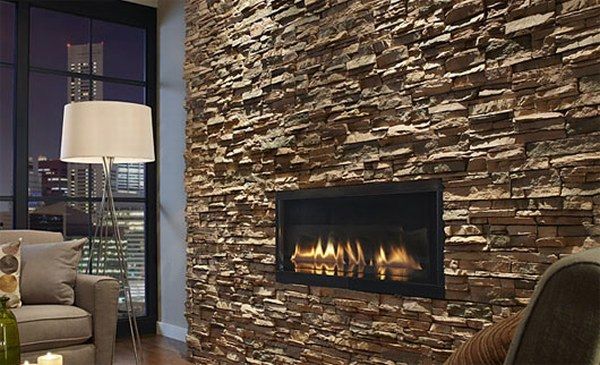
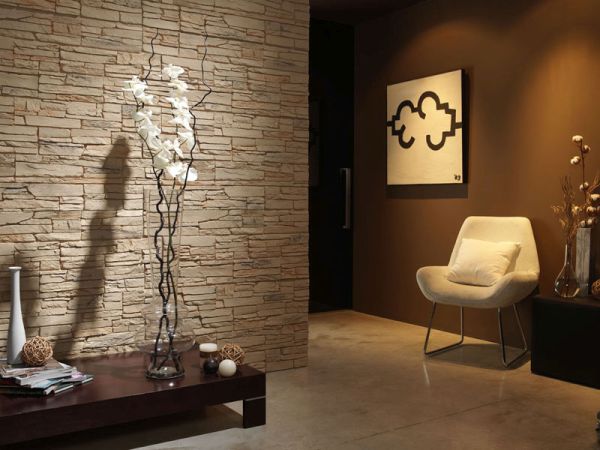
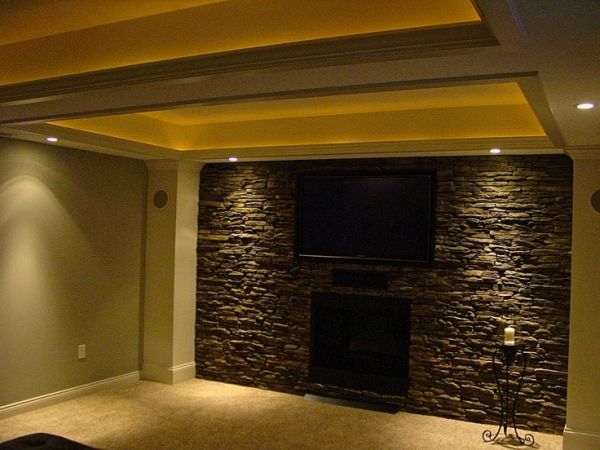
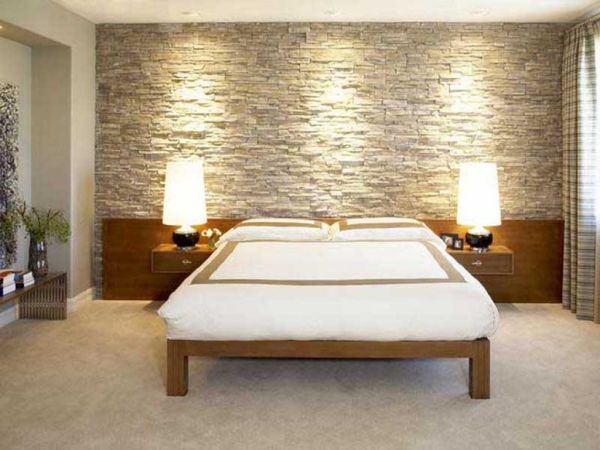
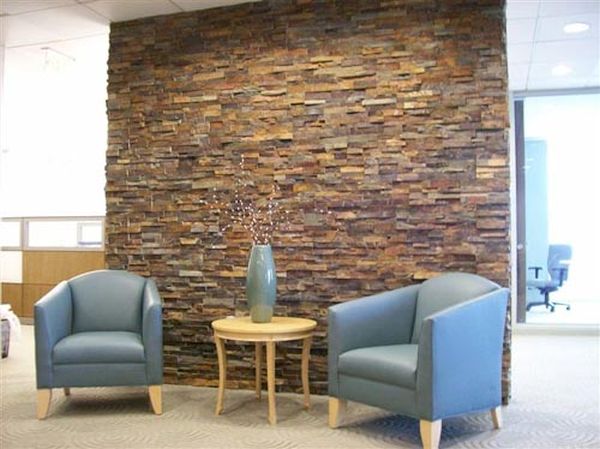
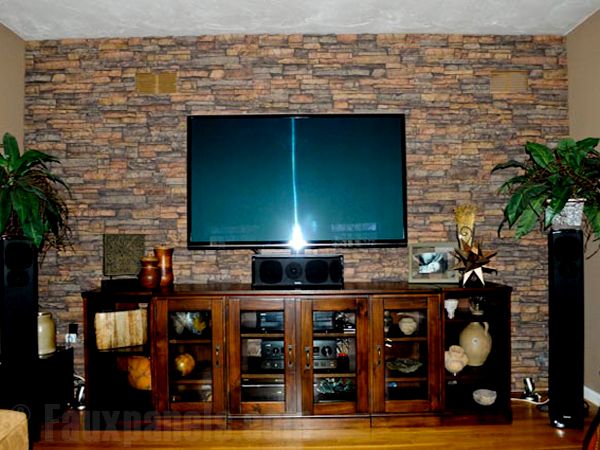
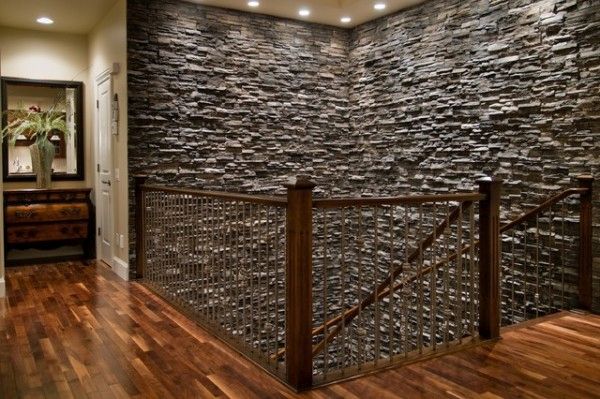
A lot of us would opt for either paint or wall paper for our homes. However, another appealing option that is significantly less troublesome to clean and maintain is faux stone. This virtually maintenance free wall would need only a dusting broom and vacuum to be cleaned and can be left untouched for at least a couple of months.
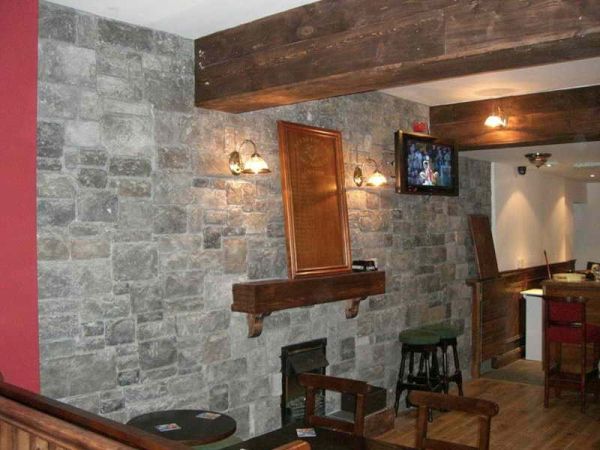
Installing these faux stone walls is also easy as they come with pre-fabricated panels that can be simply glued and reinforced with drywall screws onto an existing wall. So if you are in the process of installing a faux stone wall for your home, here are some pointers that will help you out.
Step 1: Prepare the Wall Surface
It is considered essential to prepare the wall surface by clearing it off any dust, wallpaper or loose paint that would inhibit the adhesive from working properly. If the wall is painted, wash it with a gallon of water and sand it in the case oil based paint. If you are dealing with an unfinished drywall, make sure the screw holes and seams are properly sealed and sanded to create an even surface for the faux stone overlay. You can use a wool duster to remove the excess dust that settles on the wall as a result of sanding as well.
Step 2: Prepare the Faux Stones
Instead of directly jumping into the project, set aside some time to prepare the faux stone panels as well. Bring in the faux stones as well as the adhesive. Wait for about 24 hours until the stones and the adhesive get used to the indoor temperature. This will make it easier for them to be used during installation.
Step 3: Measure the amount of veneer you would need

A simple way to measure the amount of veneer you would need is to multiply the length of the wall with its height. Now subtract the areas you will not cover with the veneer. Add a little extra (10%) to the result in order to account for minor corrections here and there.
Step 4: Create a pattern on the floor

Rather than simply sticking the stones to the wall on a random pattern, lay down the stones on the floor and create the pattern you would want to replicate on the wall. The trick here is to use different sized stones over one another to break up the vertical seams.
Step 5: Mark from the bottom

Hold a stone in place against the bottom corner, choosing the lowest spot above a molding or the floor itself. Mark the top of the stone and extend this line along the entire length of the wall. Use this line as the guide to cut and fix the stones.
Step 6: Stick the Stones to the wall
Apply the adhesive to the back and sides of the faux stone. Spread the adhesive evenly using a putty knife, making sure the thickness is just 1/8 inch. Carefully press the faux stone against the wall (it is best considered to start at the corner) to spread the adhesive evenly at the back. Follow this with more faux stones as you press them tightly next to each other as you move along the horizontal line you drew earlier. Once you have finished the first line, scrape off any extra adhesive at the sides of the stones with a putty knife.
Step 7: Installing the Drywall Screws into the faux stone
Next position the stone panel unit appropriately against the row of faux stones you just worked on. Make sure that the groove portion of the unit is at the bottom while the tongue portion is at the top. Insert the drywall screws into the available holes.
Step 8: Add the other panels
Follow the first row of faux stones with another row directly above it. Place the stones in such a way that the bottom groove in the second row fits perfectly into the top tongue in the first row Secure the stones in place using drywall screws. Follow the same procedure for all the other rows as well. All you need to do is trim the topmost row of stones in order to remove their tongue portion. Fill in the recessed areas of the screw heads with matching color caulk.
Step 9: Clean Up
Scrape off extra adhesive with a putty knife. You can also use a damp cloth to wipe of dried adhesive.
Thinking of installing a faux stone wall in your home? From preparing the work surface and the stones to guiding you through the process step by step, these tips will ensure you set up the faux stone wall in no time at all.