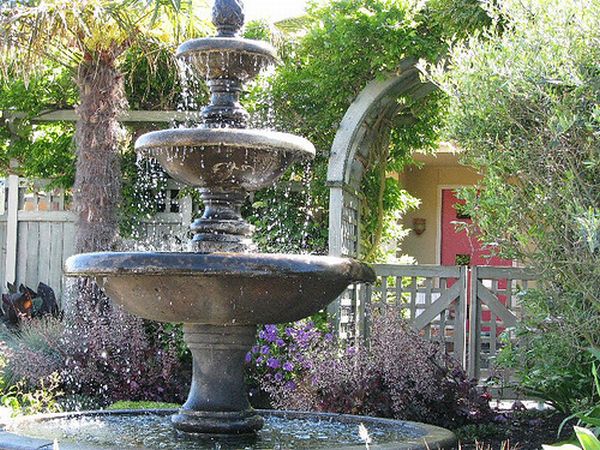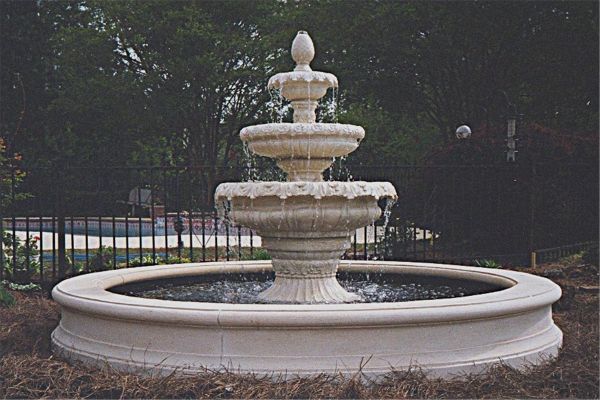
Water trickling down the rocks in a waterfall leaves soothing effect on our mind, body and soul. Wouldn’t it be nice to recreate same effect in your backyard or by the side of the patio? Living in your same old home will be altogether a different experience. However, garden fountains do come with heavy price tags. Don’t worry, as we will explain how to build a three-tier fountain from scratch. The best part is that you don’t need any specific skill or delicate resources.

Difficulty level: Easy
Resources required
1. Copper pipe of ¾ inch internal diameter
2. Terra-cotta planter of 24 inch diameter
3. Three terra-cotta saucers of 18, 14 and 10 inch diameter each
4. Fountain pump – submersible
5. Silicone sealant
6. Construction purpose waterproof adhesive
7. Plastic tube
8. Copper tubing
9. Bricks
10. Pipe cutter
11. Drill and ¾ inch drill bit
12. Solder
13. Scissor, measure tape
Instruction
1. First, you need to locate a position, where you want the fountain to put up. Ideal place would be in the middle or at any corner of the garden. To make it a focal point, choose a place, which is visible enough.
2. Place the 24 inch planter in that location.
3. Now you need to place two stacks of bricks in the planter. Each stack should have roughly 2 to 4 bricks depending on the size, you want the fountain to have. Apply construction adhesive to the bricks to glue them together and with the planter. However, don’t forget to maintain a gap of ¾ inch between two stacks.
4. Place the fountain pump by the side of any stack, within the planter. Pass the pump’s cord through the planter’s drain outlet and seal the outlet with silicone sealant.
5. Cut the copper pipe as per the length of the fountain. Use the drill and make a ¾ inch hole at 6 inch from any one end of the pipe. Now put that end within the gap between brick stacks. While doing this, remember to keep the hole towards the pump.
6. Now you need three strips of copper tubing, 6 inch each. These will make up the braces for holding the saucers.
7. Wrap the first strip around the pipe at a point, within 4 to 8 inch from the planter’s rim. Solder the wrapped tubing with the pipe to make a strong bracing.
8. Make a ¾ inch hole at the bottom of each saucer and place 18 inch saucer through the upper end of the pipe. First brace will hold the saucer.
9. Wrap and solder the second strip of tubing within 4 to 12 inch from the first saucer bottom. Place the 14 inch saucer here through the bottom hole of the saucer.
10. Third brace would be at 6 inch below the upper end of the copper pipe. Place the 10 inch saucer on the third brace.
11. Now apply plenty of silicon sealant at the joints between saucer bottom holes and copper pipe. Allow sealants to dry well.
12. You need to cut now a piece of plastic tube, similar in length to the copper pipe. Feed in one end of the plastic tube into the copper pipe, through ¾ inch hole, drilled earlier. Connect the other end of the plastic tube with the pump.
13. Your DIY 3 tier fountain is ready. Fill all the saucers and planter with water and start the pump.
Frequently asked questions
Q: How to keep water feature clean?
A: This fountain design is easy to clean. You have to empty the water first and remove the pump. Then scrub inside the fountain with brush to clean algae and deposits. Then simply use a water hose and rag to clear out the residue. You can use water treatment chemicals too to stop algae from growing. Check the pump too.
Q: How often do I have to clean fountain?
You should clean bigger outdoor fountains at least once in couple of months. Smaller indoor one can be cleaned every month.
Quick tips
If you don’t like color of terra-cotta, you can always color the planter and saucers as per your preference.
Things to watch out for
1. Always take extra care when using drills and pipe cutter. Careless use can become harmful to user.
2. When drilling the copper pipe, do not put heavy pressure.